Friday, February 24, 2012

2 Upcycled Jean Purses and a Fairy Door

Pin from Pinterest

My version.

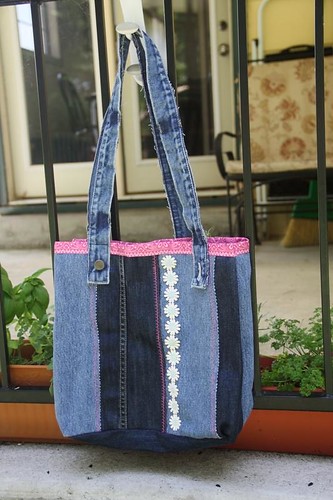
I saw this denim purse on Pinterest and had to make it! I loved the concept - up-cycling - turning something old into something new. My sister in law's birthday was around the corner so I made one for her. I used stencils, some fabric paint and some fun stitching on my machine. She really liked the purse and uses it often! Then, for Christmas I thought each of the girls would love one. The pictures below are the front and back of Dakota's purse. It's a modified version of original. On her purse there are beads, buttons, Disney princess ribbon, stenciling etc. Time did get the best of me and I was unable to finish the purses of the other girls. Once they are complete I will be sure to post them too.


When I saw this fairy door on Pinterest I immediately thought of my sister in law Mary. She loves faries and other whimsical type things. I knew I had to also make this for her for her Birthday. Go to Pinterest and see all the things that come up for fairy doors. There are a lot of great idea out of there.

In the picture below is my own version of the fairy door. I went outside and pulled bark off some chopped wood, found some branches that I could cut to size and in half. I had the fake moss from a previous project. I got the hinges from Pat Catans. The door base is Popsicle sticks that I glued together and stained. The Fairy stone is a fake pearl that I glued to the center and used black stickles over some puffed liquid applique. I really like the outcome - so did Mary!!

Pin It

Thursday, February 23, 2012

Poptab purse

This pop tab purse is what I made my niece for Christmas! It's a very unique and trendy gift for anyone. Madelyn has requested that I make her one and I have someone else wanting to pay me to make her one! These are a lot of fun and can test your patience at times. This particular purse is over 700 tabs. the front panel is 5 rows, the back panel and flap is 9 rows, the sides are 2 rows and then the shoulder strap.

You'll first want to start with a huge stash of washed pop tabs!! I stress this - WASH them before hand it will make it a much cleaner, smoother process.

Next your need some Sharn aka Shirt yarn - made from jersey knit t shirts in your preferred color. There are also many other things that can be made with sharn; check out pinterest to see all the things that are made with it.

Second you need to follow this basic weaving pattern for the pop tabs. I alternated two colors of sharn for this.

After all of your pieces are made then you sew them together. I used a thin yarn, I would not use it again. I would consider some sort of cording that would coordinate with the colors of the sharn.

Once you have completed putting the purse together, you are able to pick some sort of closure, I used a loop made of sharn and a black button.

For my first attempt - I was pleased, I can not wait to tackle another tab project!

Pin It

Wednesday, February 22, 2012

Pinterest ROCKS

 Yes this stain is GROSS - almost wanted to rearrange the furniture to cover it.


I saw this on Pinterest!

This is the gist: 
You take equal parts of Ammonia and Hot water (I used boiling). Spray stain liberally, place white towels over the spot and then iron the spot. I keep the iron there until it stops steaming. 

I started with the big stain pictures above:


After I sprayed and towel steamed - you can see that half of that big old thing was already gone!
Here's another spot


Well - la! Gone!

Here is a picture of the area I worked on after I filled a mop bucket with dirty white rags!

I am pretty impressed for my first pass through with this concoction. I see that certain areas need multiple passes but this is defiantly a secret I will make sure my daughters knows.


Tuesday, February 21, 2012

Spinning Leprechaun

I got another SCS challenge done! I am excited about finding the time to do these again!! For this card; which came together as I worked it out. I couldn't 'see' this in my head like I can with other cards - all in all - I Love it!
This card includes the following challenges:
Free for All F4A103 - use a rainbow in some way
Ways to Use it WT362 - Bountiful Borders
Inspirational Challenge IC323 - pick an image from the ones offered and let it inspire you.


In the IC323 one of the pictures were of some rainbow colored chairs (above) which caught my eye and it also worked with the F4A103 challenge.

In the photo below you'll see all the stuff used to create the card (minus the boarder scissors, cardstock, SU Craft White ink, and a stamp set by the Angel Company). It is hard to see - but in the lower right corner there are two sizes of pop dots. One is pretty thin and is out of pop dots - but I use the entire sheet anyway - I just cut what I need in strips. This works great when you want some height and because i use strips it does not collapse.


For this card I used a rainbow of Palette Inks: Noir, Violete, Iris, STarry Night, Giverney Green, Sunflower, Orangerie and L'Amore Red. I also used Tria Pantone and Prismacolor markers to color the leprechaun.
I first cut the black cardstock to size, stamped the white shamrock background, then trimmed with the boarder scissors. I used the CM cutting system to cut the black apart into two pieces; then mounted on the base.That is where the little clovers are. Then that is when I decided to make a penny slider card. I took the CM cutting system and cut the track for the penny. Because I had to cut thru the two layers of cardstock I placed a layer of black cardstock on the backside of the front. I used the foam sticky strips that I cut from the old pop dot adhesive.This gave room for the penny to be able to slide on its track. I used a wide popdot to hold the two pennies together then glued the leprechaun to the penny after he was colors and cut. 

Here is a little clip of the leprechaun spinning. 


Hair Bows

All little girls need bows for their hair. When you have 4 little girls like I do you start to wish you learned how to make these bows a lot sooner since they are so stinking expensive at the store, or poorly made and fall apart, or hurt their little heads. So I got a ton of inspiration from Pinterest, here is my board.


By following some pretty simple instructions found on the MANY blogs/websites/YouTube out there in the virtual world and burning my fingers with a lot of hot glue I was able to come up with some pretty cute bows that the girls, Brooke and Dakota especially LOVE.

Some things I have learned - Gator clips are great for all four of my girls hair and stay in well. They work great when I use the corkscrew pom poms with their ponytails. My girls range from having thick wavy hair, fine hair, or very little, 'newish' hair - Dakota does not have a lot of hair, but her hair is very short, fine and wavy.

Also, by covering the gator clips with ribbon (I'll post a pic when I make the next set of bows and link back here; I have a two more valentine's bows to finish up - even if its already past V-day) so that the metal gator clips do not just slip out of their hair.

Using the spring barrettes to make the loopy bows (St. Patties Day bow above) are harder to do when you are using a smaller barrette but still worth it if you have the patience.

The pink bow is using a fatter ribbon, I would not suggest this for the little gator clips as it looks to bulky.

The periwinkle bow is the twins favorite bow and can be worn with most any type of outfit - I need to make a lot more of these. Madelyn, who is 11, also finds these to be fun to put in her hair.

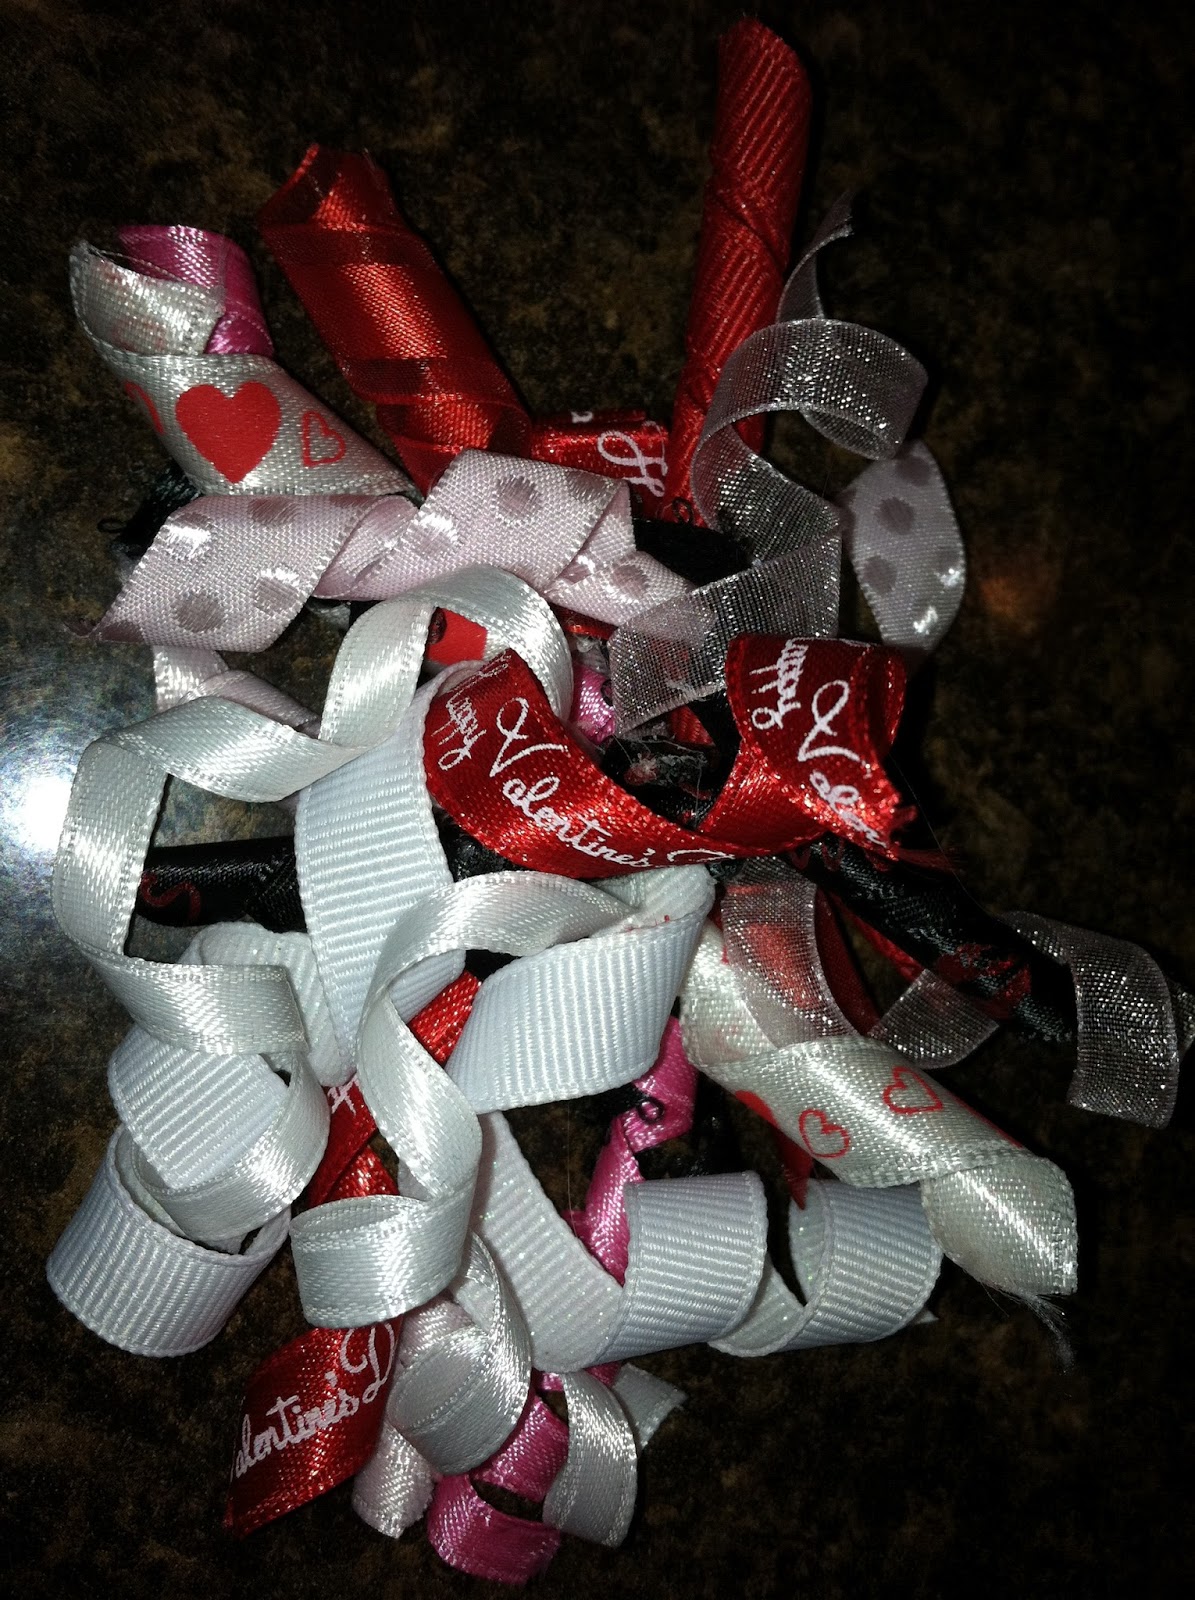
Lastly, hotglue is not my friend when it comes to make corker bows. The easiest way I found to make these were to take cut to size corker ribbons and run a needle and ribbon through the center of each, pull tight, wrap and knot. Cover the gator clip with a coordinating ribbon and hot clue to clip. These are a lot of fun - and less painful on my fingers!

On my list of projects is a hair ribbon holder - I love this one:
Found Here!