Tuesday, November 08, 2011

Upcycled Apron

Also on my crafting day this past Sunday I made another item that I pinned on Pinterest. It is an upcycled Apron. Here is my visual from A girl and a glue gun

I dug out my Thrift store finds / Hand me down pile and found a pair of jeans that would not fit anyone in the house. Some scrap fabric (that I got off freecycle) and my sewing stuff. I followed the directions on the above blog and wella - my new apron below:
This one will be for cooking. I am planning to make another one with on of hubby's jeans and use the bigger pockets to make a craft/painters smock. My sister-n-law and I are also planning to make some seasonal aprons as well. They are so simple and very thick...if you ever watch me cook/craft etc I am a total mess...and I ruin a lot of clothing :) 

Monday, November 07, 2011

New Ironing Table

Good morning! I am so grateful for the people in my community. I use freecycle to look for things that we may need/want before we go out and buy it. It helps keep the landfills less full etc. I am also addicted to this new website to me -www.Pinterest.com its like a virtual google with a story board feel. I can find things I like and file them under the board that I like and they make great reference points for me!! 

So - because of Pinterest I have a TON and I mean a TON of ideas brewing in my head. Before I go to the store and buy what items I do not already have - I look on freecycle. In the last week I received wool to make felt, beads, buttons, ribbon, Christmas decor, glass bottles etc. I am just blessed by the people in my community.

I got inspired - and got my Art room cleaned up and yesterday I got started on my projects. 

The first one I got from this Pin from Texas Freckles


I saw this picture (didn't think I needed the directions) and pulled out the following supplies: the cover and foam from my ironing board that just was not working for me (I would start to put pressure on it and it would collapse) I also got out some thread, elastic and pins. 

I sat there, it was early and I was not about to fight with the elastic and adding a trim to slid the elastic thru etc. I did not want the headache. So I went back to the above site and was directed to Oh, Fransson! A TV  tray press board. She used staples - low and behold - with I had the wrong staples or the gun was jammed...so I turned on the hot glue gun - and set up me table, foam and fabric and glued that sucker on!
Here is my lovely press board! And it works great for my projects!

Wednesday, October 19, 2011

Hello Everyone!


I miss my blog, a recent visit to another local crafters blog (http://www.saving4six.blogspot.com/) got my blog envy juices flowing again...if that even make sense.

Several months ago, one of my long time friends announced that she was pregnant with a little girl! I made her this card and some fun stuff for her scrapbook on my cricut.


I took these photos, and just recently (after I already mailed her baby shower gift) found the card and the fun scrapbook goodies sitting on my table. So, I am posting the photos here and getting them out in the mail - ASAP before the baby is here in a couple weeks!!


I love this card style. I can not remember where I saw it originally but I have made several cards using this type of layout.


The bottom of the card was embossed with my cricut using a folder by Darce. Then I colored over the raised embossed lines, applied glue and then glitter. The stamp set was a set by the Angel Company called Special Delivery. I colored the images with Tria Pantone and Prismacolor markers. Very carefully I used an exacto knife and cut a few slits long the image lines so that I could attach the ribbon to make it look like it is the blanket wrapped around the baby.


Because its been a few months since I made the card I do not remember all the details of marker colors etc.


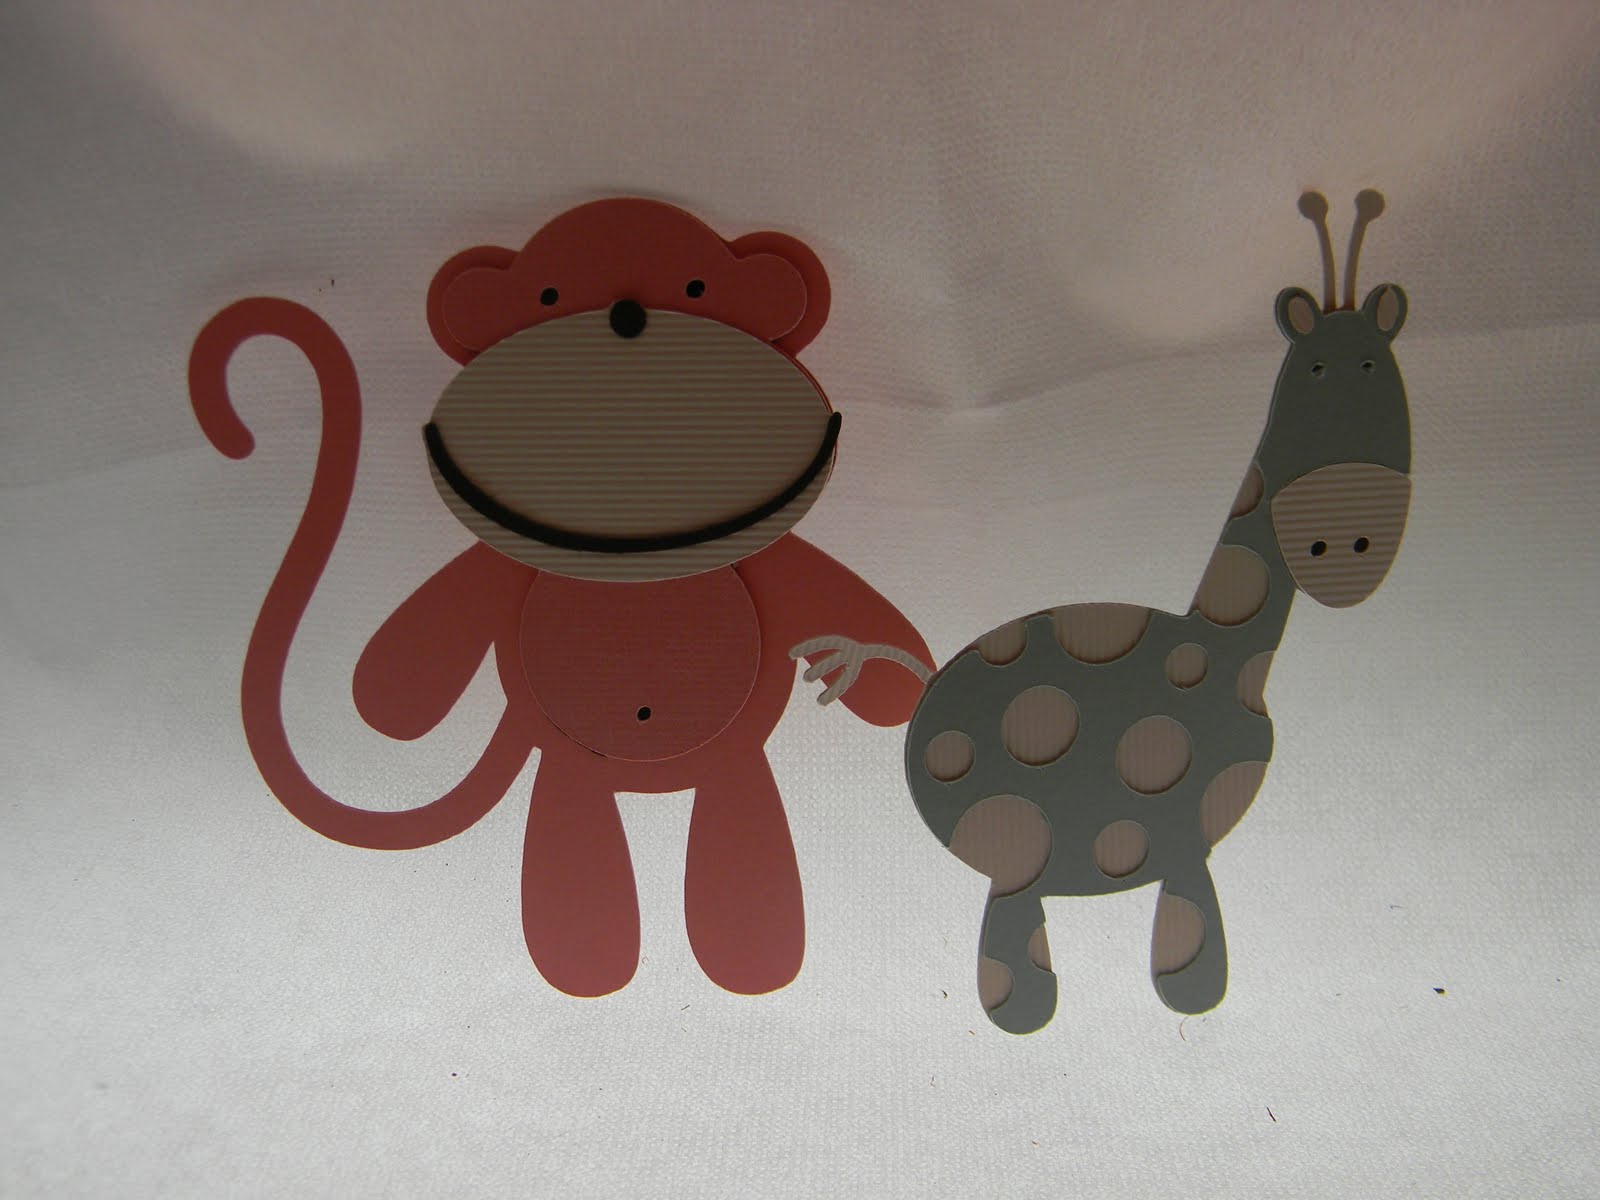
Below are the fun items I cut using my Cruit and my SCAL software!


Thanks for stopping in again and hopefully it wont be 6 more months before I post again!

Tuesday, April 12, 2011


Canning already!!


A couple weeks ago I took some of the strawberries that I had purchased and made strawberry syrup with them. If my research is true this was a lot like boiling down maple syrup. It did take a little while but it smelled yummy!


This would be great to drizzle on a plate with some cheesecake or to top your pancakes or waffles.


I half the original recipe because I did not see the need at this point to have 12 jars of this especially if no one but me uses it on my pancakes.


Strawberry Syrup

5 cups crushed strawberries
11/2 cups water (divided)
1 strip of lemon peel
11/2 cups sugar
11/2 cups corn syrup
1 tbsp lemon juice

Combine strawberries, half of the water, and lemon peel. Heat to boiling and boil for 5 minutes.

Pour into a jelly strainer and let drip for 2 hours.

Combine the sugar and the remaining water and cook to 230°F. Add the strawberry juice and the corn syrup. Bring to boiling and boil for 5 minutes. Remove from heat and stir in the lemon juice. Fill hot jars leaving 1/4 inch headspace. Add lids and process in a water bath for 10 minutes.

Here are a few photos of the twins riding the powerwheels a few weeks ago - on one of our nice spring days.

Monday, March 21, 2011


Tie Dye Cupcakes!!
These were a HUGE hit at my house this past weekend.
It is really a very simple recipe. Take a standard cake mix and make according to directions. Then divide the batter into 6 bowls (about 1 cup each) and mix to your desired colors. I used Red, Yellow, Orange, Green, Blue and Purple gel dye. Then you layer by the teaspoonful. I just dolloped the spoonfuls in rainbow order. I then Baked these for about 15 minutes until a clean toothpick inserted came out clean. While cooling, I mixed 2 tubs of white frosting with 3 different colors of dye - Red, Yellow and blue. In a pastry bag I put the frosting inside by the spoonful alternating colors until I got all of the frosting in the tube. Starting at 12 oclock I piped the frosting onto the cupcakes.

Here is where you can see the rainbow effect of the frosting on the cupcakes.


I love how vibrant the colors on the inside of the cupcakes came out!! I will definatly make these again.
I am thinking I will make some in badger colors for the girls...Purple and gold. The frosting I could do in Purple yellow and white to make sure the colors do not get too muddy.


This is one of my walmart clearance shopping trip. This order before coupons about about $70 and I walked spending about $10 it was a really great trip!


This was my Giant Eagle Stock up trip. Aprox $130 in items, my total out of pockets was $28 after coupons and sale items.


Lastly, These are the newest memebers of our chicken coop. We wanted a rooster and we got a hen along with him :) He is very 'Rooster-y' and doesn't seem to like me coming into the coop to collect eggs. I am trying to get him to see that I am not scared of him...but I am a little...my shin hurts from where he tried to get me out of the coop!
I am sure there will be more to post very soon, some birthday invites that I am doing for a friend of Madelyns, Madelyn's diorama, spring cleaning, more planting, hopefully the start of the green house...ahh the joys of a busy life! Until next time!